Yesterday I got up at 6 (after waking up at 1, 2 and 4) and left town at 7 with two classmates, headed for Kentville NS and the Gaspereau Press' Wayzgoose. That's where bookbinders and likeminded people get together. The books done by GP are amazing - gorgeous customized wood block prints and fabulous textured paper covers. They tend to publish poetry and prose by artists from Atlantic Canada.
We were signed up for a paper marbling workshop, and it was super fun! We learned about how to prep the paper for the ink by applying an alum solution to one side and initialing the other so we could tell which side was which. The inks have to be mixed with ox gall (mmm) so that they have the right weight and won't sink when applied drop by drop to the surface of the liquid that provides the surface tension so that when a piece of prepared paper is carefully laid down on the liquid, the ink will adhere to the paper. It was so cool! Pictures explain better than I do, however, so here are a few examples of what we were up to:
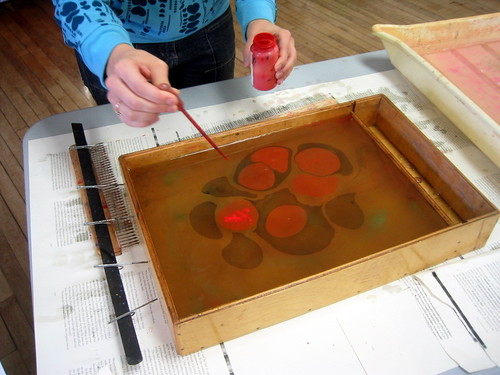
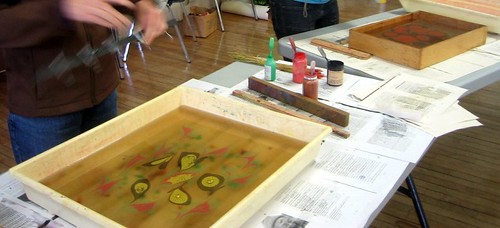
Can you see how the ink is floating on the surface of the water? It's water that has been 'cooked' with irish moss, which is a type of seaweed containing carrageenan. After straining, the thick liquid has a particular chemical makeup that makes it ideal for keeping the ink on the surface and the paper from getting sopping wet.
Once the ink has been dropped onto the surface, our instructor had lots of tools for us to use to change the way the ink looked. A stylus, for price swirling, and pieces of wood with nails or needles sticking out of them to create patterns.
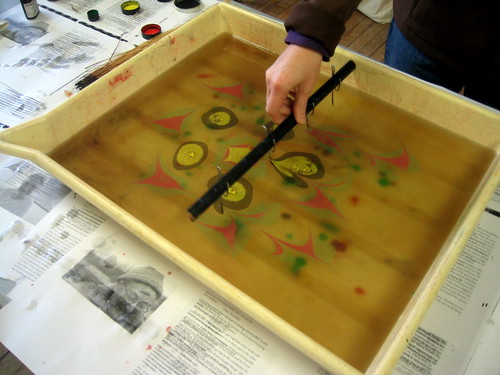
Super fun! It was amazing to see how much ink you needed to apply in order to get a saturated colorful piece of paper. Here are my results:
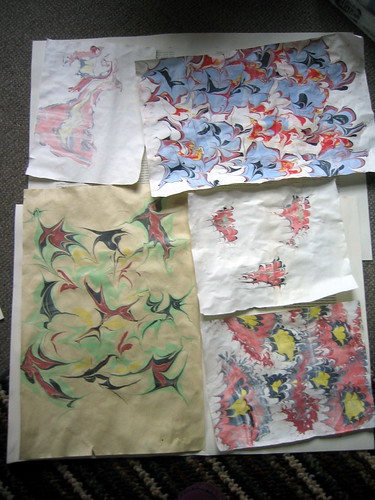
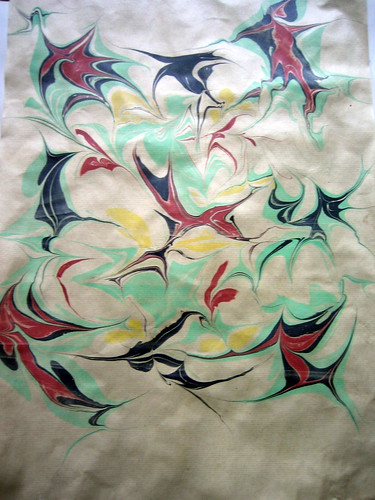
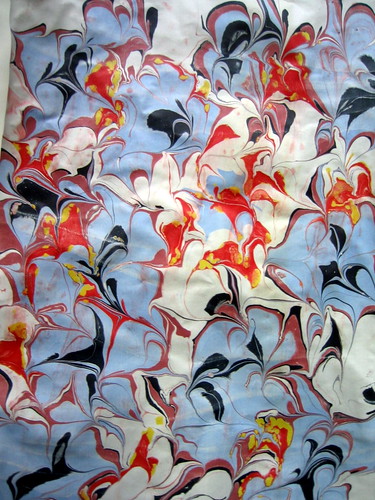
The one with only three splotches was my first - none of us realized how much ink we really needed to use, because what is on the surface of the water is what you get, it doesn't spread out the way you might think as you lay the paper down. The one at the top left is a 'ghost' marbling - the second impression taken after the one on the bottom right had been taken up. If there is ink still on the surface you can try a ghost impression. Here are the two bigger ones, which came out the best!
If only there wasn't so much preparation involved, I'd love to do this again sometime. Luckily, our instructor has a studio in the city here and was telling us about a paper decorating party in late November at the local arts college. We got on his mailing list so I'm hoping to work with him again!
We were signed up for a paper marbling workshop, and it was super fun! We learned about how to prep the paper for the ink by applying an alum solution to one side and initialing the other so we could tell which side was which. The inks have to be mixed with ox gall (mmm) so that they have the right weight and won't sink when applied drop by drop to the surface of the liquid that provides the surface tension so that when a piece of prepared paper is carefully laid down on the liquid, the ink will adhere to the paper. It was so cool! Pictures explain better than I do, however, so here are a few examples of what we were up to:


Can you see how the ink is floating on the surface of the water? It's water that has been 'cooked' with irish moss, which is a type of seaweed containing carrageenan. After straining, the thick liquid has a particular chemical makeup that makes it ideal for keeping the ink on the surface and the paper from getting sopping wet.
Once the ink has been dropped onto the surface, our instructor had lots of tools for us to use to change the way the ink looked. A stylus, for price swirling, and pieces of wood with nails or needles sticking out of them to create patterns.

Super fun! It was amazing to see how much ink you needed to apply in order to get a saturated colorful piece of paper. Here are my results:

The one with only three splotches was my first - none of us realized how much ink we really needed to use, because what is on the surface of the water is what you get, it doesn't spread out the way you might think as you lay the paper down. The one at the top left is a 'ghost' marbling - the second impression taken after the one on the bottom right had been taken up. If there is ink still on the surface you can try a ghost impression. Here are the two bigger ones, which came out the best!


If only there wasn't so much preparation involved, I'd love to do this again sometime. Luckily, our instructor has a studio in the city here and was telling us about a paper decorating party in late November at the local arts college. We got on his mailing list so I'm hoping to work with him again!
Those are beautiful! Are you by any chance studying library science?
ReplyDeleteGorgeous! I did that at summer camp once and totally loved it. I don't remember so much preparation, but I guess I was just a kid (12 or so). Anyway, beautiful! Are you going to take a book binding class now? Next logical step, it would seem :)
ReplyDeleteBeautiful!
ReplyDeleteDid you know irish moss is an ingredient homebrewers use to give beer more body?
I hope you don't get this twice, my computer is being weird...